How to Sanitise Your RO System
Biofilm builds up quietly in tanks and tubing. Here is when to sanitise a reverse osmosis system, how to do it safely step by step, and what to watch during a filter change.
Filter replacement is the scheduled job most owners remember. Sanitisation is the one they forget, and it is where serious hygiene problems tend to begin. A clean RO membrane does nothing for you if the tank and tubing downstream of it are harbouring biofilm. The two tasks are not interchangeable, and neither replaces the other.
Why sanitisation is separate from filter changes
Replacing a cartridge removes a spent filter. Sanitising the system removes biological contamination from the surfaces water touches after the filter — the storage tank, the tube runs, the tap valve, and the fittings. Biofilm, a thin layer of bacteria held in a protective matrix, forms on any wet surface given enough time and nutrients. It does not rinse away with normal flow. It has to be treated directly.
In a well-kept system, sanitisation is an occasional task — commonly once or twice a year, or whenever the system has been idle, disturbed, or opened for service. In the heat of an Indonesian kitchen, choose the more frequent end of that range. Warmth speeds microbial growth on every surface that stays wet.
When to sanitise
Each of these situations justifies a sanitisation cycle, wherever you are in the filter replacement schedule.
- Annual or biannual routine. Once a year is the minimum. Every six months is reasonable in a hot kitchen or a high-humidity space.
- After a period of disuse. If the system has sat unused for two weeks or more — a long trip away, a second home — sanitise before resuming normal use. Stagnant water in the tank is a growth opportunity.
- After any filter change. Opening the system lets in ambient air, your hands, and new cartridges. A sanitisation run afterward keeps that exposure from setting up shop.
- After a flood, a plumbing incident, or a contaminated supply. Common enough in areas with ageing PDAM lines or seasonal flooding, and a clear case for sanitising.
- When taste or odour returns despite fresh filters. Biofilm in the tank or tubing is a plausible cause.
- When the system has been stored, moved, or reinstalled. A system that has been off the wall or in a box is, in effect, an idle system.
What you need
Nothing exotic. A food-grade sanitising agent — food-grade hydrogen peroxide solution, commonly sold at 3%, is widely available and suited to this use. A bucket or large jug for catching flush water. Clean cloths. If your system has a separate tank valve, find it before you start. Rubber gloves are sensible; dilute hydrogen peroxide is mild, but there is no reason to wear it on your hands for an hour.
Avoid bleach unless your system's manufacturer specifically recommends it and states the concentration. Chlorine bleach at the wrong strength or contact time can degrade certain tubing and seal materials. Hydrogen peroxide at food-safe concentrations is effective, leaves no taste once thoroughly flushed, and is the safer default for a domestic RO system.
The sanitisation procedure
Steps vary by model and tank type. What follows is a general procedure for most under-counter RO systems with a pressurised storage tank. Read your unit's manual for any model-specific instructions before you begin.
Step 1: Shut off the feed water. Close the feed valve on the inlet line. This stops fresh water entering the system while you work.
Step 2: Drain the tank completely. Open the product tap and let it run until flow stops. A pressurised tank pushes its own water out; let it empty fully.
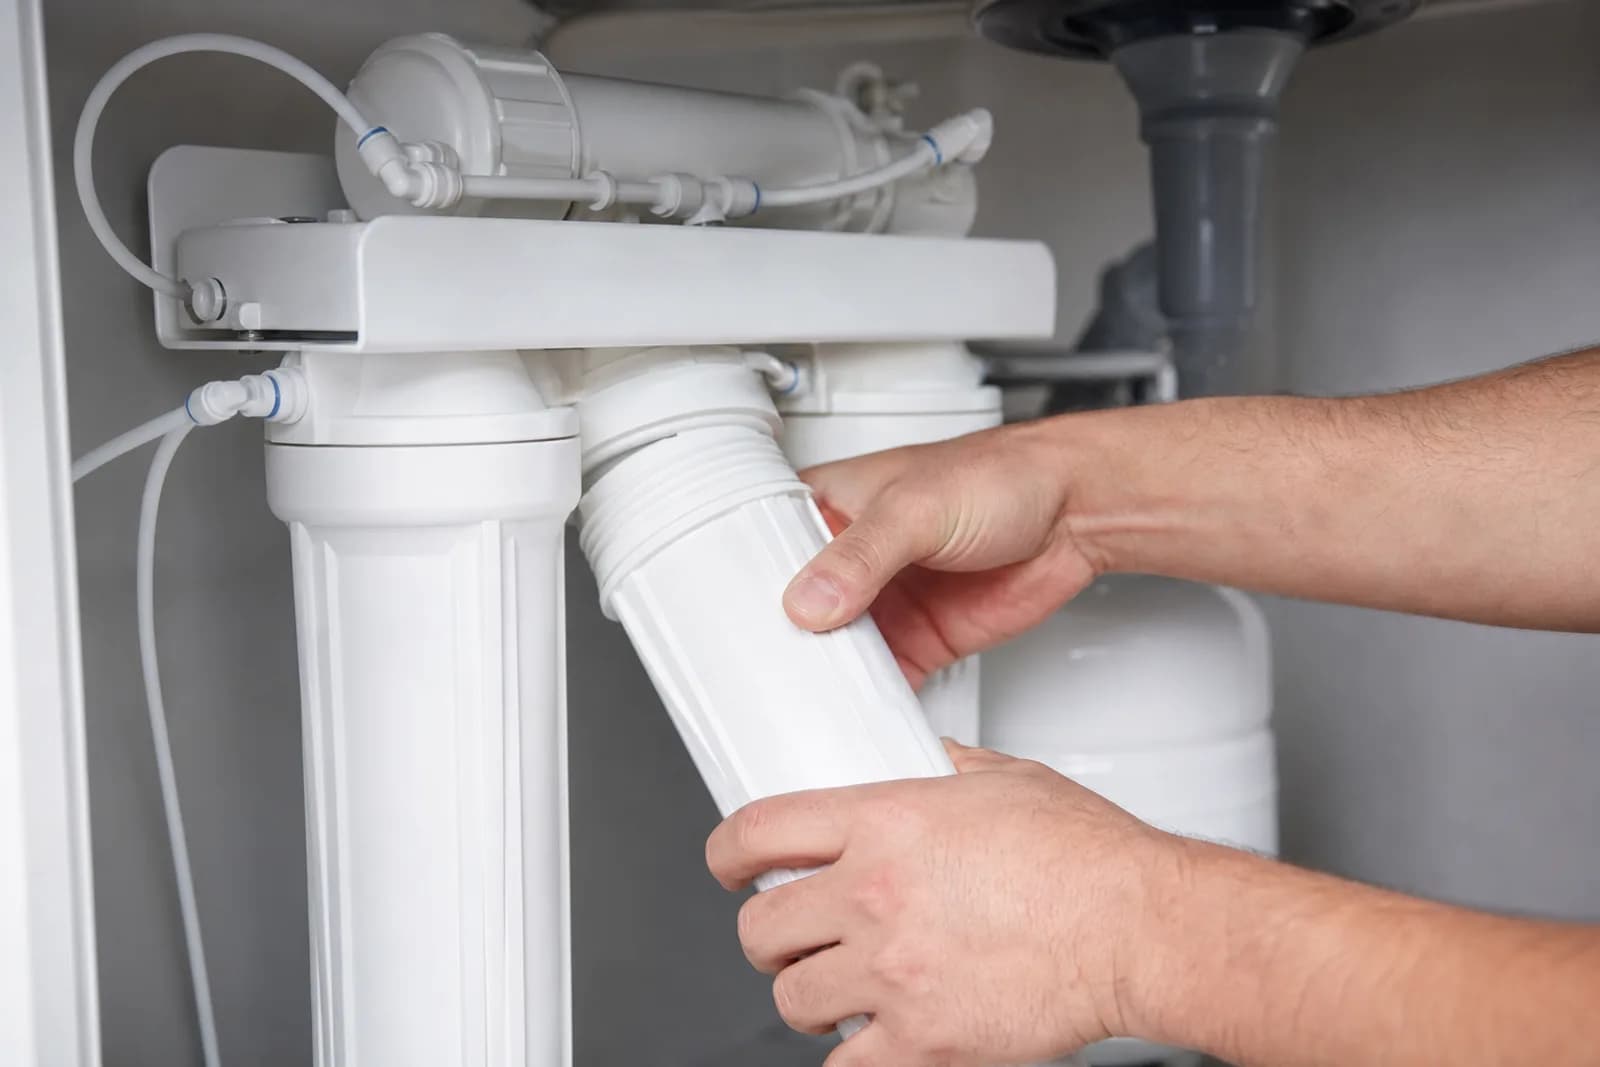
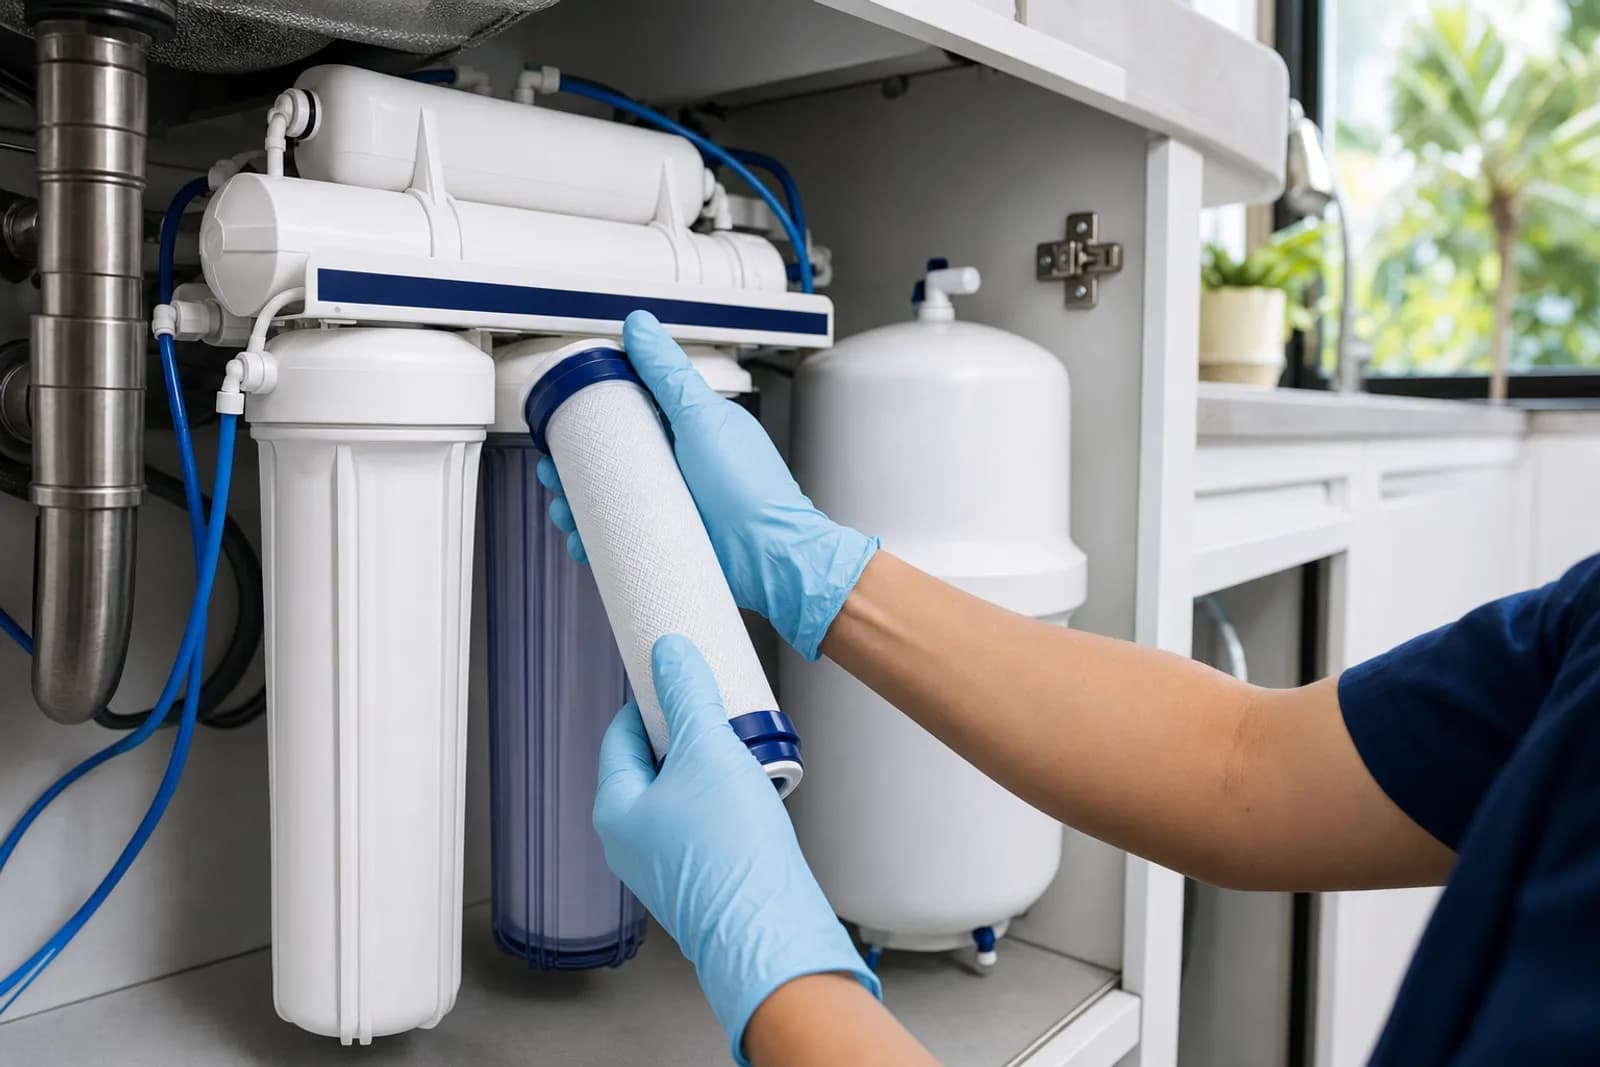
Step 3: Remove the existing filters. Take out all filter cartridges and the RO membrane. Set them aside, or have fresh replacements ready — this is a natural point to change them if they are due.
Step 4: Introduce the sanitising solution. Pour a measured quantity of food-grade hydrogen peroxide into the first housing — typically the pre-filter housing, or a dedicated port if your system has one. The working strength in this step is roughly 0.5–1% once filled; follow the guidance for your specific agent and housing volume. Reassemble the empty housing without cartridges, or fit a bypass insert if your system supplies one.
Step 5: Open the feed water slowly. Let the solution fill the system — the housings, the tubing to the tank, and the tank itself. Inlet pressure drives the fill. Once the product tap runs clear again and the tank is full, close the tap and let the solution sit.
Step 6: Allow a contact time. Typically 30 minutes to one hour for hydrogen peroxide at this strength. Do not leave it much longer without guidance, especially in systems with components that specify a maximum contact time.
Step 7: Flush thoroughly. After the dwell, open the product tap and run the full tank to drain. Close the tap once the tank empties. Repeat the fill-and-flush cycle at least twice more — three full flushes is a reasonable minimum. The water should smell neutral and taste clean before you call it done. If you detect any residual odour, flush again.
Step 8: Reinstall the filters and membrane. Fit the fresh cartridges and membrane. Reinstate the feed supply and let the tank refill.
Step 9: One final flush. Run the first full tank to drain after reinstalling the cartridges. New carbon cartridges shed harmless carbon fines and a little manufacturing residue into the first flush; this clears them before you drink the water.
Sanitising the tank specifically
A pressurised steel tank holds a rubber bladder. The bladder does not come out for cleaning — the cycle above reaches its inner surface through the water side, which is why a full fill-and-dwell matters. If you run an inline non-pressurised tank (less common in domestic under-counter systems, but used in some countertop units), follow the manufacturer's procedure for draining, wiping down the accessible surfaces with dilute sanitiser, and rinsing before reassembly.
Tank pressure is worth a look in the same session. Most pressurised RO tanks have a small air valve, usually on the bottom. The pre-charge pressure — commonly around 6–8 psi when the tank is empty — affects how fully it empties and refills. If your flow rate has been dropping and the tank seems to run dry sooner than it should, check that air pressure with a tyre gauge while the tank is fully drained. A depleted bladder can trap water and cut the tank's usable capacity. This is not a sanitisation issue, but it is a sensible check to make while the system is open.
Hygiene during filter changes
Opening the system for a cartridge change is the most common moment for contamination to get in. A few habits make the difference.
- Wash your hands before you start. Simple, and often skipped.
- Work on a clean surface. Lay a clean cloth or sheet of paper to rest housings and hardware on. Do not set anything straight on the floor under the sink.
- Do not touch the inlet or outlet faces of a new cartridge. Handle it by the body. The ends that connect to the flow path should not meet your fingers.
- Keep housings open no longer than needed. Airborne bacteria and dust settle into open vessels quickly, especially in a kitchen.
- Replace O-rings that show cracking, flattening, or discolouration. A failed O-ring leaks slowly, and a slow leak leaves persistent moisture on the cabinet below — another place for microbes to settle.
- Lubricate O-rings with food-safe silicone grease, not petroleum-based products, when reassembling.
A careful filter change does not need to be rushed, but keeping the open time short and the work area clean makes a real difference to the hygiene of the result.
What not to use
A few common household products should not go into an RO system without specific guidance.
- Dish soap and general-purpose cleaners. They leave surfactant residues that are very hard to flush out completely, and they will affect taste and possibly membrane performance.
- Undiluted bleach. Some system materials tolerate low-concentration chlorine; many do not, and the safe window is narrow. Unless your manual gives explicit instructions, use hydrogen peroxide.
- Vinegar. Acetic acid is often suggested for descaling and is fine for a kettle, but it does not sanitise — at household strength it is not reliably effective against bacteria. Use it only for mineral scale, and only if your manual approves it, then follow with a sanitisation cycle.
- Alcohol. Isopropanol and ethanol disinfect external surfaces and tools well, but not the flow path. They are difficult to flush completely and can affect certain seals.
After the procedure
Note the sanitisation date in the same place you record filter changes. If you keep a TDS log — and it is worth keeping one — take a reading from the freshly flushed system and mark it as your post-service baseline. Any meaningful rise at the next check tells you the membrane needs attention, regardless of the schedule.
A healthy system gives water that tastes flat, neutral, and cold. When that stops being true, the answer is almost always a maintenance task — a cartridge change, a sanitisation cycle, or both. Those are the two tools the system gives you. Used together, on a sensible schedule, they keep a domestic RO system safe for years.
Not sure which system fits your water?
Aright Marketing Indonesia can assess your supply and recommend the right Truliva system for your home or business in Indonesia.