Water Purifier Maintenance Checklist: What to Do and When
A practical, cadence-based checklist for RO system owners — covering pre-filter swaps, membrane checks, sanitising, tank pressure, and the two things most owners quietly skip.
Most RO systems fail quietly. The water keeps flowing, but it stopped being properly purified months ago — because the filter schedule slipped, or because no one ever sanitised the system. This checklist organises every maintenance task by how often it actually needs doing, so nothing important gets missed.
The intervals below are general guidelines. Your system's manual and your incoming water quality will shift them: harder water, higher sediment, or heavy daily use all push intervals toward the shorter end. Treat this as a starting framework, then adjust based on what you observe.
Every 3 to 6 months: pre-filters and visual checks
These tasks protect the most expensive components downstream. Doing them often enough costs almost nothing; skipping them long enough costs the membrane.
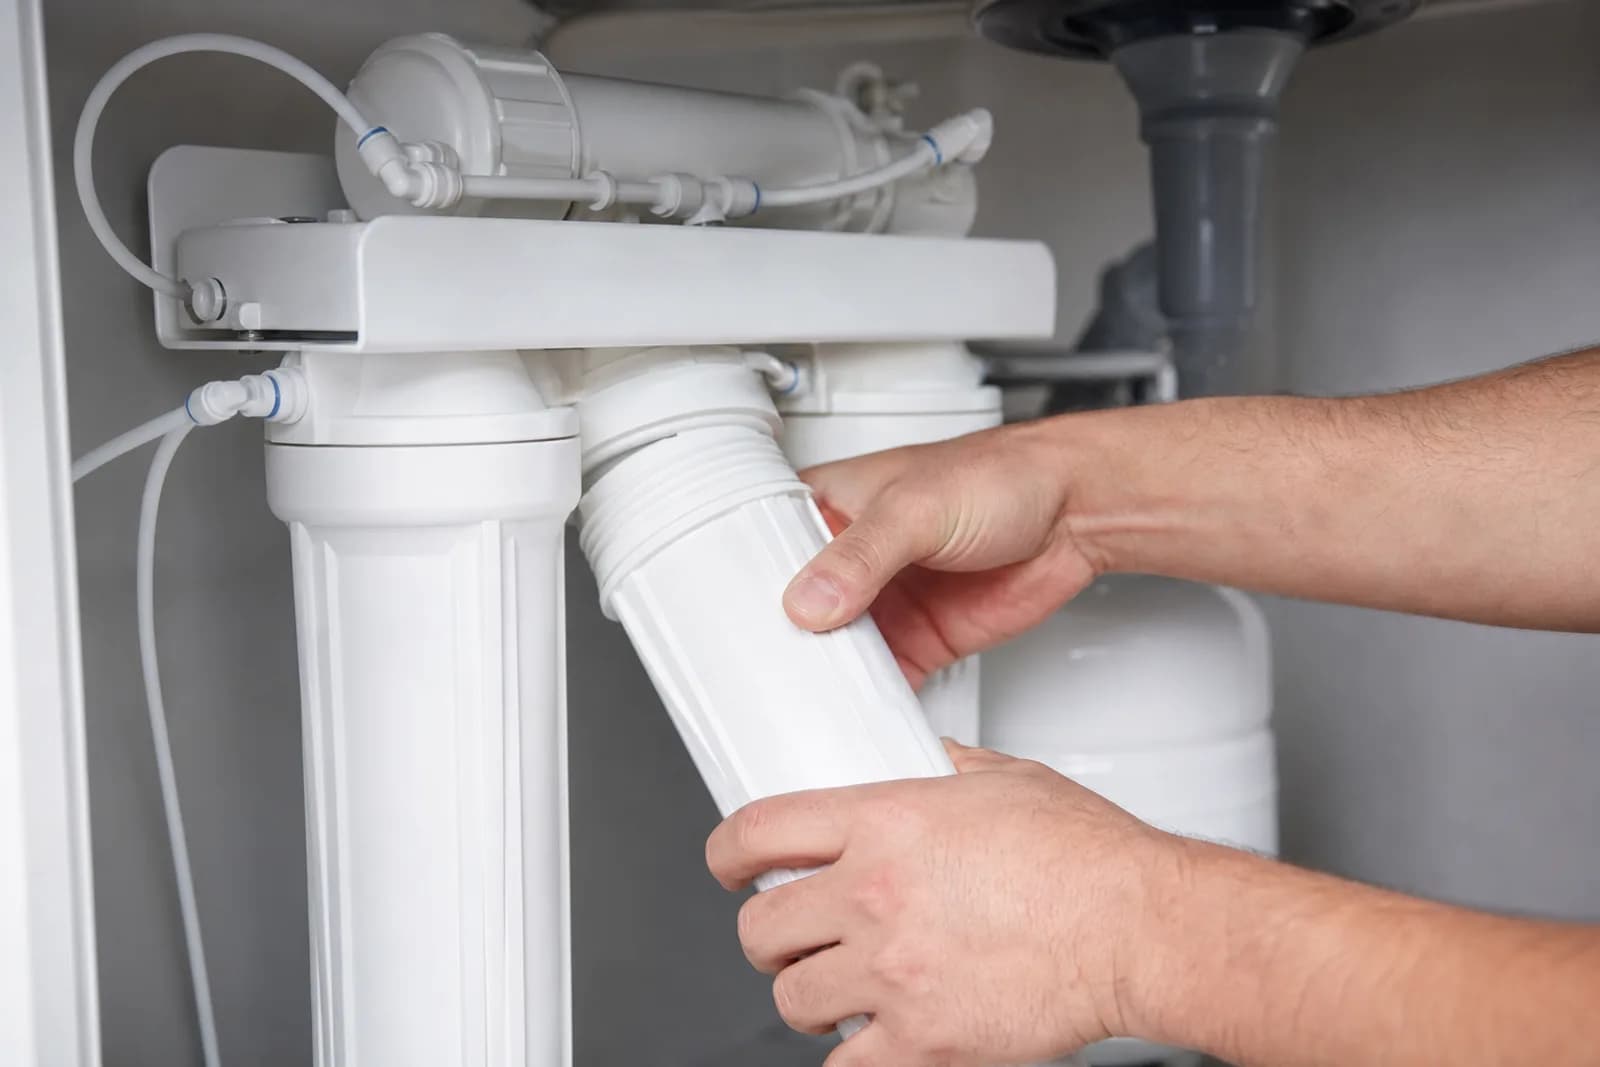
Replace the sediment (PP) cartridge. The sediment stage takes the full brunt of rust, sand, and silt from the supply line. In Indonesian conditions — whether PDAM piped water with ageing infrastructure or borehole supply (sumur bor) — the sediment load is commonly higher than manufacturers assume when they print "6–12 months" on the packaging. A cartridge that looks brown or has visibly reduced flow is already overdue. In high-turbidity conditions, three to four months is a practical interval.
Replace the activated carbon pre-filter (CTO stage). The carbon stage removes chlorine and organic compounds before they reach the RO membrane. A spent carbon stage does not announce itself the way a clogged sediment stage does — the membrane simply works harder and ages faster. Match this replacement to your sediment schedule or check the manufacturer's litre-based rating against your estimated daily output.
Check for weeping fittings and slow drips. Inspect the push-fit connections, tubing junctions, and housing caps for moisture. A slow drip at a fitting can go unnoticed for months under a cabinet, and over time it breeds mould and corrodes the cabinet floor. Run a dry cloth around every connection — five minutes confirms the system is sealed.
Check the drain line flow. The drain (brine) line carries rejected water away. If it is crimped, partially blocked, or draining sluggishly, the system's rejection ratio suffers. Confirm water flows freely when the system is producing.
Wipe the exterior and the area beneath the unit. A damp, dirty surface beneath an under-counter unit attracts mould and insects. Wipe the unit exterior and dry the cabinet floor. If you find persistent moisture with no obvious drip behind it, investigate before closing the cabinet.
Every 12 months: annual service tasks
These tasks are the ones most owners postpone. They are also the two most important: sanitising and verifying the RO membrane.
Sanitise the system — including the storage tank. This is the step owners skip most consistently, and in a tropical climate it is the most consequential one to skip. A closed, warm, wet system — particularly the storage tank and the post-carbon stage — is fertile ground for biofilm. Biofilm does not need contaminated source water; ambient warmth and time are enough for it to establish. The result is water whose taste, odour, or microbiological quality is worse than the filtration stages alone would suggest.
Sanitising typically involves:
- Isolating and draining the system
- Flushing with a food-safe sanitising solution (commonly food-grade hydrogen peroxide or citric acid, per the manufacturer's recommendation — check your manual for the correct agent and concentration)
- Rinsing thoroughly until the test flush shows no residual taste or chemical trace
- Refilling and producing a discard flush before returning to normal use
If your system has not been sanitised in over a year, do this before the next filter change so the fresh cartridges start in a clean environment.
Check and recharge the storage tank pressure. Pressurised RO storage tanks contain an air bladder separated from the water chamber. Over time, this bladder loses pressure. A tank that has lost pressure fills fully with water and then stalls — the system keeps running but has lost its buffer. When you draw water, the flow is weak and stops quickly.
To check: with the tank fully empty (drain it first), measure the air pressure at the Schrader valve on the side or base of the tank. The standard target is commonly cited as approximately 6–8 PSI (0.4–0.55 bar), but confirm the specification in your system's manual. If the pressure is low, use a standard bicycle pump or tyre pump to recharge. Do this annually, or any time flow from a full tank seems weaker than normal.
Check and replace the post-carbon (polishing) cartridge. The post-carbon stage sits after the membrane and tank, and its job is final taste finishing. It is the last point of contact before the water reaches your glass, so keeping it fresh matters. Annual replacement suits typical household use.
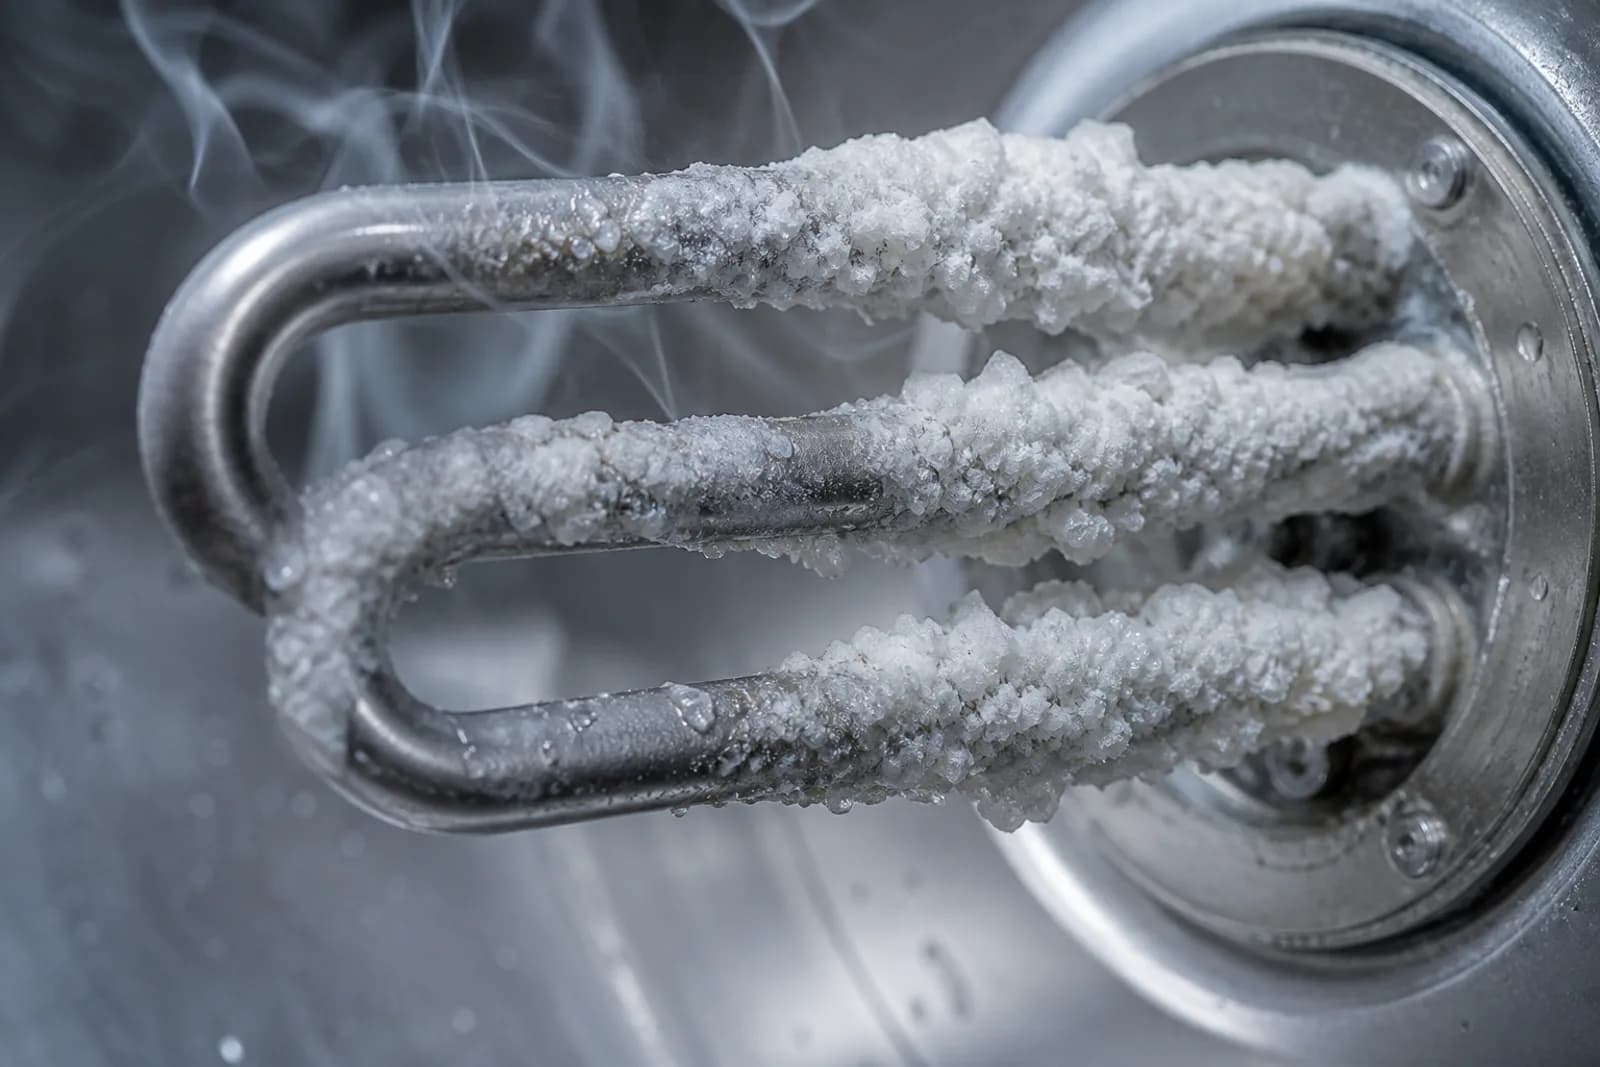
Inspect tubing for kinks, discolouration, and scale buildup. Trace each tube from inlet to drain. Kinks restrict flow and create pressure differentials that stress connections. Discoloured tubing — white calcium deposits on the outside of fittings, or yellow-brown staining in clear tubing — indicates mineral buildup or elevated iron, and may signal the system needs descaling or that the pre-filter is undersized for the incoming water quality.
Verify the booster pump operation. RO systems with a booster pump should produce a consistent output pressure (typically 50–70 PSI across the membrane, though your system's specification may vary). A pump that has become noisier than usual, runs longer to produce the same volume, or fails to reach operating pressure is showing early wear. Catching this at the annual check is less disruptive than diagnosing it after the system has effectively stopped producing water.
Replace the UV lamp (where fitted). UV lamp output degrades before the lamp stops emitting visible light — you cannot judge lamp effectiveness by whether it glows. Most manufacturers recommend annual replacement regardless of actual hours, as the germicidal output can fall below effective levels while the lamp appears lit. If your system includes a UV stage, replace the lamp on this schedule.
Ongoing: habits that prevent problems
Track TDS at the output. A basic TDS meter costs little and tells you a great deal. Measure and record the output TDS every few weeks, or at each filter change at minimum. A steady upward trend across readings is an early warning that the RO membrane is ageing and its rejection rate is falling. The membrane does not fail suddenly — it declines slowly, and watching the number is how you catch the decline before it matters.
Record every filter change date and the TDS reading at the time. A notebook inside the cabinet door, or a note in your phone, is sufficient. The record lets you compare: is this sediment cartridge reaching its rated life, or is it fouling faster than last time? Is the TDS drifting even though the membrane is relatively new? The data answers questions that guesswork cannot.
Keep the area beneath and around the unit dry. A consistently damp surface under or behind an under-counter unit is a problem waiting to compound. Address any unexplained moisture immediately.
Note any change in taste, odour, or flow rate. These are the system telling you something. A returning chlorine taste means the carbon is spent. A metallic note can indicate a membrane under stress. A flow rate that drops between scheduled services means the sediment stage is loading faster than expected, which may call for a whole-home pre-filter upstream. Do not wait for the next scheduled service if the output has changed.
Quick-reference schedule
| Task | Typical interval |
|---|---|
| Sediment / PP cartridge | Every 3–6 months |
| Activated carbon pre-filter | Every 6 months |
| Post-carbon polishing cartridge | Every 12 months |
| UV lamp replacement | Every 12 months |
| System sanitising (inc. tank) | Every 12 months |
| Storage tank pressure check | Every 12 months |
| Tubing and fitting inspection | Every 12 months |
| Booster pump check | Every 12 months |
| RO membrane check (TDS trending) | Every 12 months (replace every 2–3 years, or per maker spec) |
| TDS output reading | Every 4–8 weeks |
| Drip/leak visual check | Every 3–6 months |
The two things owners most often neglect
Ask a service technician what they find most often, and the answer is consistent: filters changed too late, and a system that has never been sanitised. These are also the two issues that do the most damage quietly — one to the membrane, one to the water quality.
Put simply: change the pre-filters on time and sanitise the system once a year, and the rest of the checklist is mostly confirming that everything still runs as it should. Let those two slip, and no amount of attention to the other items makes up for it.
For model-specific service intervals and sanitising procedures, refer to your system's manual. Where your incoming TDS or sediment load is unusually high, adjust intervals downward and consider consulting a qualified service technician for an annual inspection.
Not sure which system fits your water?
Aright Marketing Indonesia can assess your supply and recommend the right Truliva system for your home or business in Indonesia.